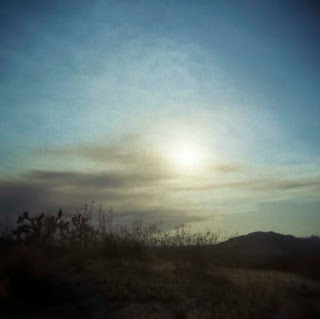
Posting the first shot even though I dont care for it much. Its too grainy for a day time image and I dont know why. I shot into the sun with 400 film on the normal shutter speed. Im guessing that wasnt fast enough.
The rest I like quite a bit. Just need to figure out how to make them larger when I scan them.
9 comments:
Oh yeah, and it looks like I need to flip a few of them as well. LOL!
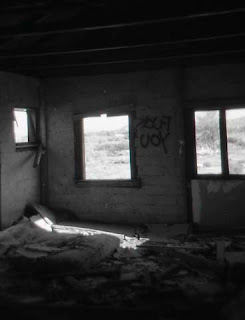
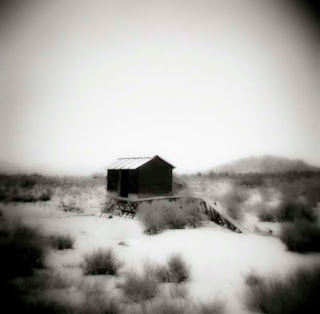
I absolutely LOVE the last one. It encompasses what toy cameras are most often used for--the images are a little soft, there's a glowy kind of light, and of course, there are the vignetted corners. All due to the plastic lens and the size of the sweet spot of the lens in relation to the film plane. These elements create what we read as dream-like. It isn't a totally literal capturing of what you saw at the time you made the photograph. One thing you need to be careful with when using a toy camera is in the sense that you have to know you aren't going to do any cropping afterward. What you see within your frame has to be carefully composed and all things considered because they won't be going anywhere when you make your final image (unless you scan and PS them out). Keeping the entire frame intact is one of the most important aspects in regard to shooting with these crude lenses. When you crop, you remove too much of what makes the images different from those made with a lens that is simply cheap. Haha, sounds silly, I know, but believe it or not, there IS a difference. It's not easy going from a rectangle to a square (then back again, and vice versa again....) This is another reason why I love the last image--all of the crudeness and quirkiness of the toy camera is intact.
As for scanning, here's where my PS naiveté is going to show BIG time. I've heard a couple of different schools of thought on where to start with your neg scans (I haven't really had much digital yet--or rather, in the class I did have, we didn't do any scanning or printing). I think it's best to start with a good target size (in your Epson Scan software when it pops up) of at least 8x10 or 11x14. Even if you're shooting a square, you can use one of these standard sizes. I know you can create custom sizes, but it's been so long since I figured that one out on my own and actually used it, that I've now forgotten how to do it. hahaha, oh man, that sucks. Anyway, go with a dpi (or ppi, same thing) of at least 300. This gives you room to blow up your image even larger than your target size. You can go to 1200, but the scan will be slow. Try to stick to multiples of 300 too. I usually do scans at 1200 and a target size of 8x10 or 11x14 if I know the image is important to me and I'll be making prints from it. The scans do take a while--a few minutes for each 4x5 scan--but it's worth it to me to not have to do the scan again if I didn't do it large enough the first time. I don't know. As I said, there are different schools of thought. I don't like the idea of having to dig out a neg and scan it again, but a lot of people don't like the idea of wasting all of that memory space. Oh, one other thing--when you try to choose a target size using the Epson software, you have to make sure you've done a preview first, otherwise it won't give you the option.
Then again, I haven't had any training in proper scanning, so what the hell would I know. Hope this helps in spite of that fact.
That helps a ton! Im going to rescan and see what I can do.
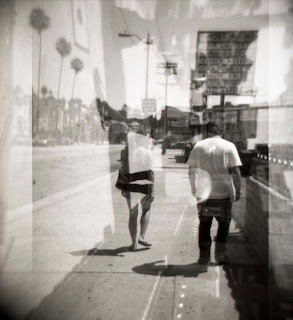
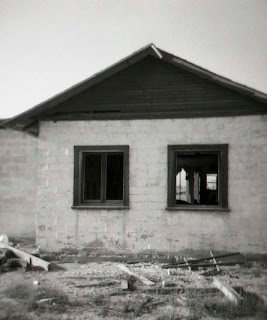
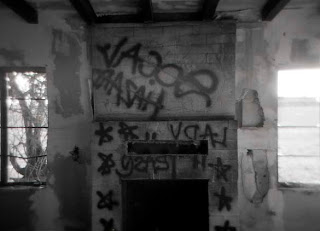
I did crop out some of the double exposures on the edges of a few of the shots because I screwed up shooting on 16 images instead of 12 without using the plastic insert. Other than that, I did try to get the images framed exactly as I wanted them because I knew about the vignetting and didnt want to crop that out. Strange how it doesnt show up in all the shots though. Like that double exposure of Ryan and Sheina, which I really like by the way, has no vignetting and I didnt crop that. I only cropped the images of the abandoned house. So I am not exactly sure why there is no vignetting on that street shot. I have a few other street shots that I havent posted yet and they dont have it either. Really strange huh?
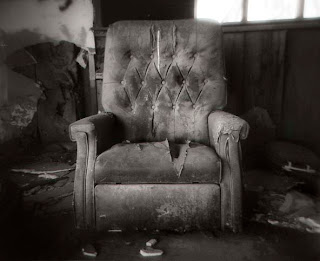
That is weird. I like the street shot as well. I also really like the chair. There's something about tonal range that film gets and digital just can't quite reach yet. Sucks about the mask. Did you end up getting anything usable in the overlapping? That's actually kind of cool sometimes. I guess none of the transitions worked for you? I remember doing exactly the same thing, but it wasn't my first time using the camera. I had been playing around with it and forgot to switch it back over to 12 shots. I seem to remember a couple of the transitions working, but I didn't use them that way.
I think some of them will work but I havent edited those yet. Not sure Im going to without rescanning first. I really dont like how pixelated the images look being so small so I might just redo them all.
And I looked back at the street seen and there is a very small amount of vignetting in the lower left hand corner. I wonder if the extra light added to the double exposures is what kills the vignetting.
Sounds like a plausible reason to me. I've forgotten now how underexposed your images should be for double exposures. You would imagine it would be half expected for each, but it turns out, that's not the case. What film speed were the doubles shot at? Or was it the same roll--can't remember.
All on the same roll and the film speed is 400. I believe I shot them all at F8, but I have no idea what the shutter speed is. Im guessing 1/125 since that is pretty standard.
The only problem this scanner has in manual mode is scanning underexposed film. I was able to scan the chair pic before but now it wont scan. I can scan in marquis mode, if I spelled that right, but it comes out all read and dark and when I boost the exposure in PS, its gets all posterized. Ugh. Not sure what to do about that.
i love that chair photo. i want to sit in that chair with my fair dress and no shoes and have you photograph me with the holga.
i love all these shots. you are an artist, not just a photographer, but an artist.
Dee, that is such a wonderful idea!!! OMG! We have to do that. Though I will have to spray the chair first. I think a black widow lives under it right now. I took some more shots of the chair and should be getting that film back soon. A&I said they'd be mailing it back today I think. That will give me a better idea of the exposure times. Im a little worried that I perhaps over exposed everything but I'll see.
Thank you so much for the compliments! And the ideas. We really have to try that shot out. And there are lots of places we can shoot at too, not just that place.
Post a Comment